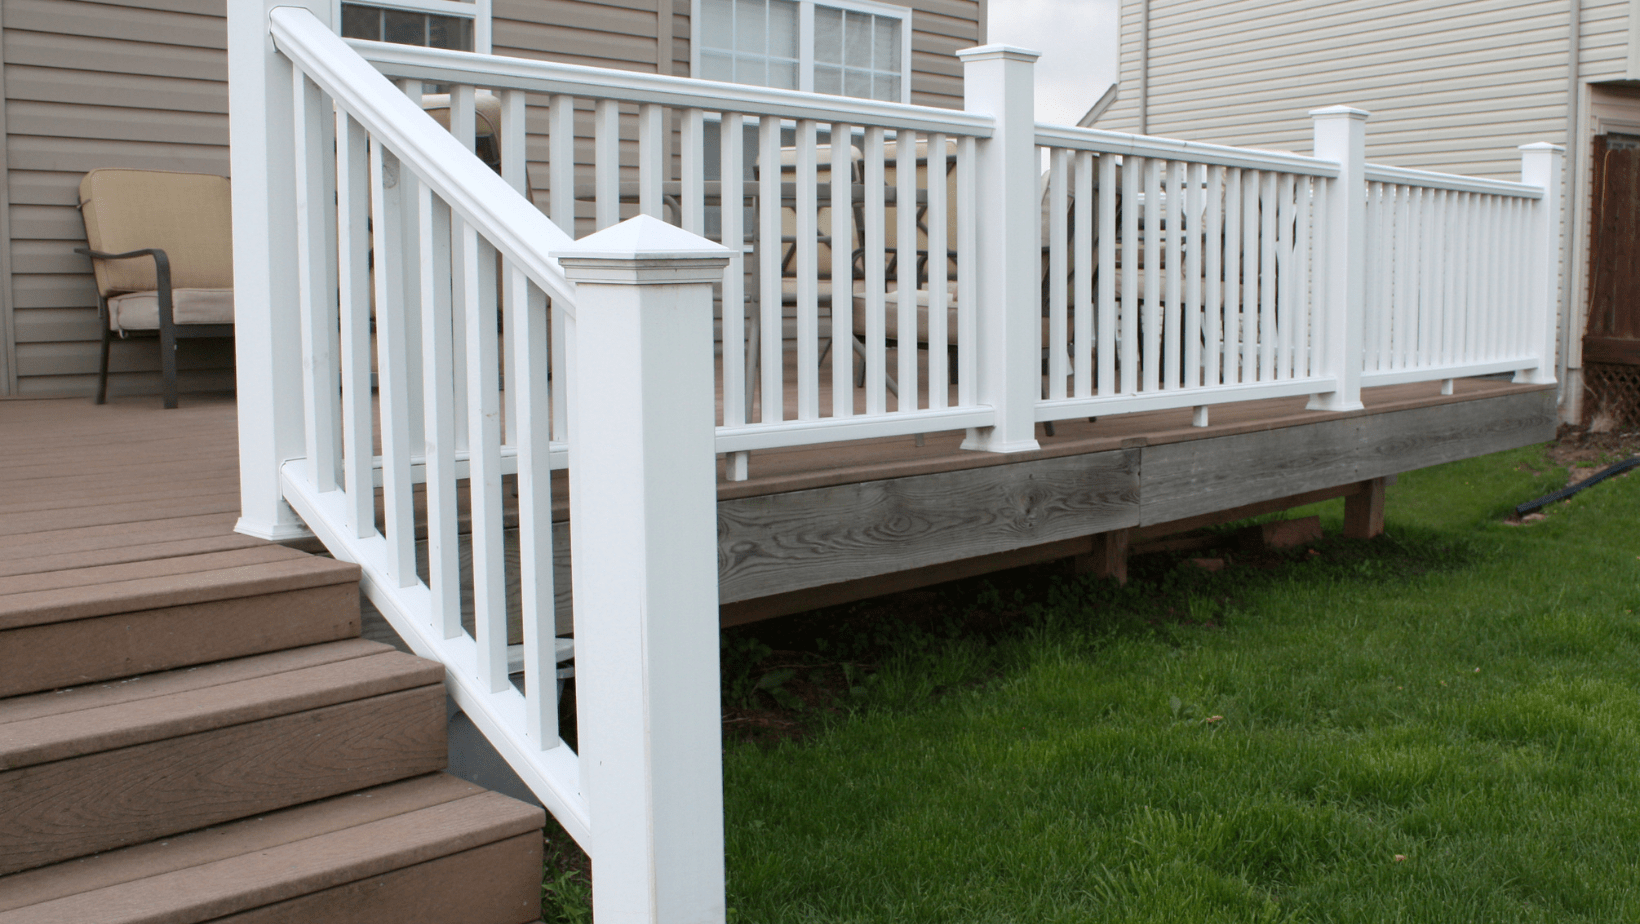
How to Paint Outdoor Railings
Painting your outdoor railings is one of the simplest and biggest bang-for-the-buck jobs you can do on your home. It makes a tremendous difference to how your property appears, meaning you can have it looking ship-shape in no time.
How often you need to paint your railings depends on the underlying wood. Cedar is naturally rot-resistant and doesn’t require painting as regularly while pine is more rot-prone and needs refreshing annually.
This page guides you through what you need to do to paint your railings. Read on to learn more.
Step 1: Collect Your Tools
Before painting the railings outside your home, you’ll need to collect the right tools. These include:
- Painter’s tape
- A drop cloth
- Top coat
- Primer
- 180-grit sandpaper
- N-95 mask
- Exterior wood filler
- Gloves
- Mini roller
- Selection of paint brushes
The purpose of each of these items should be self-explanatory. Painter’s tape is helpful when painting fiddly areas near your deck or the ground. A drop cloth protects against spills while keeping some exterior wood filler handy and lets you fill in gaps as you go along.
Step 2: Protect The Deck And Railings That You Don’t Want To Paint
The first step is to take your painter’s tape and stick it along any areas you don’t want to paint immediately next to the railings. If your railings intersect with your decking, carefully stick tape around the base of each railing pole. Ensure the tape doesn’t cover any part of the railing you want to paint.
You can also stick tape at the intersection of railings you want to paint and those you don’t. This strategy is helpful if you’re going for a multi-colored scheme or just want to leave certain areas looking rustic.
Step 3: Lay A Drop Cloth
Drop cloths help you keep everything clean and tidy. Place it around the railings on both sides to prevent paint, primer, or debris from damaging your property.
Laying drop cloth around exterior railings is tricky. Therefore, we suggest sticking it to the deck or flooring next to the area you want to paint with tape. This strategy prevents the cloth from moving while you paint, helping you catch more paint splatter, drips, and spills.
Step 4: Sand Down Imperfections In The Wood
Painting over bumpy wood will leave an unprofessional finish. Therefore, always sand down the areas you want to paint with suitable sandpaper. For wood, we recommend 180-grit paper.
You can also use a machine sander if you don’t want to sand by hand. These can do the job faster.
Always wear a mask when sanding to avoid wood particles from entering your lungs and causing irritation.
Step 5: Vacuum The Dust
Next, vacuum all the dust.
Vacuuming the dust from sanding away from your outdoor railings is essential because it prevents you from accidentally painting over dust particles that could give them a knobbly, uneven finish.
Step 6: Start Priming
The primer is an initial coat you apply to railings to prepare them for the top coat. You can think of it as a sticky paint that helps gloss and matte paints adhere. We recommend using a small paintbrush for fiddly areas and a mini-roller for larger ones.
Step 7: Let The Primer Dry
Once you coat the railings in primer, let them dry. It takes time for the paint to set before it’s ready to accept the next coat. You’ll want to wait around an hour — more if it’s a cold day.
Step 8: Fill Nail Holes With Exterior Wood Filler
Next, take the opportunity to fill any nail holes with exterior wood filler if they haven’t been filled already. Follow the instructions on the putty packet. You may have to wait for the product to set before proceeding to the final painting.
Step 9: Apply The Top Coat
The top coat is the final color of your railings. You should only apply it after the primer is dry.
Before you apply the top coat, put on your N-95 respirator. Paint the top coat using a regular brush and wait for it to dry. Then step back and observe the quality of the finish. If it looks patchy, simply repeat the process and apply a second coat. You shouldn’t need more than 2 to 3 coats to get the color you want. More than that suggests a problem with the paint.
Step 10: Clear Away Your Items
Finally, once the paint dries, unstick all your painter’s take, remove the drop cloth, and store all the other items somewhere safe.
