How To Cut Crown Molding
Adding crown molding to your home is an excellent way to add elegance and character to any room. It’s a wonderful DIY skill to learn and can help you apply much more creative intention to your space. Installing it, however, requires some skill and attention to detail.
Fortunately, with the right know-how and skillful techniques, you can easily cut and install crown molding yourself. In this step-by-step guide, we will show you how to cut crown molding for inside corners.
Tools you’ll need:
- A Measuring tape
- A Miter / Table Saw
- A Pencil
- Safety goggles
- A Carpenter's square
- Crown molding
Make sure the space is safe to work in. Then, you can begin:
Marking your wall
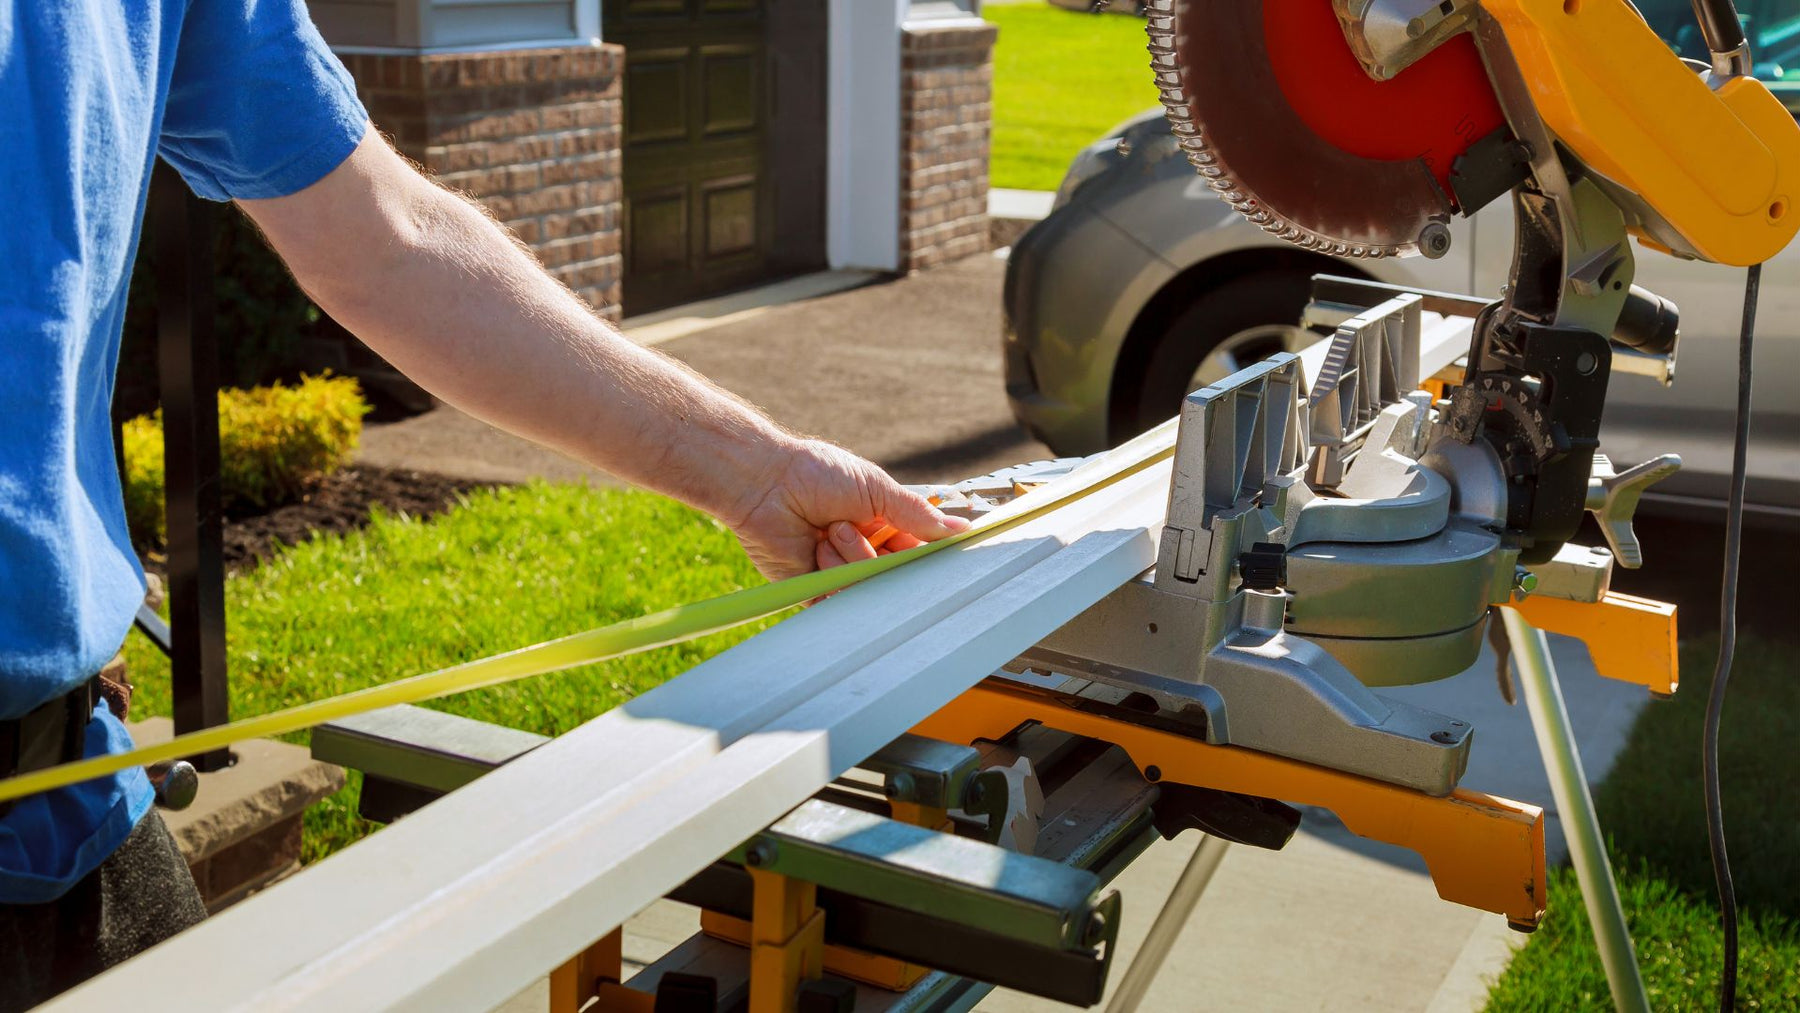
The first step is to measure the length of the wall where you plan to install the crown molding. Use a measuring tape to measure both the top and bottom of the wall, as walls can be uneven. Then it’s important to use a carpenter's square to measure the angle of the wall. This will help you to determine the correct angle for your cuts, and will prevent costly mistakes later on.
Making that first cut
Place the crown molding on the miter saw with the back of the molding facing upwards. Set the saw to the correct angle based on the angle you measured in the previous step. It’s good to triple check your measurements here. Hold the crown molding in place with one hand and use the saw to make the cut with the other hand. This will give you the first piece, keep this in a safe location.
Making the second cut for the opposite piece
Measure the length of the second section of wall and repeat the same process. Remember, the angle of the second cut will be the opposite of the first cut. Take a few moments to make sure you have this right. If the first cut was 45 degrees to the right, the second cut will be 45 degrees to the left, for example. Hold the two pieces up against the wall to make sure they fit together correctly, if they do, then they’ll offer a seamless fit when it comes to the real application.
Repeat this process with the remaining pieces around the corner of your wall
Cutting the remaining pieces of molding is pretty straightforward. Make sure to keep the angle consistent with the first two pieces. If you run into any trouble, refer back to your previous cuts and apply the same process. It can be a little odd switching around the opposite angles in your head from corner to corner, but you’ll get the hang of it soon.
Cope inside the corners
No, this doesn’t refer to the process of trying to emotionally deal with a shoddy job. You’ve got this. For inside corners, you'll need to do something known as “coping” the crown molding. Coping is the process of cutting the profile of one piece of molding to fit snugly against the profile of another piece.
To cope an inside corner, you'll need to cut one end of the first piece of molding at a 45-degree angle like before. Then, use a coping saw to cut along the profile of the molding, following the contour of its edge correctly and seamlessly. This will create a tight, accurate fit between the two pieces of molding.
Time for gluing
Once you've cut and fit all of the pieces of crown molding together, you’ve done the hard work already, and it's time to finish the job. Apply a small amount of wood glue to the back of each piece of molding and press it into place on the wall. Use a nail gun to secure the molding to the wall, making sure to space the nails out evenly.
Then, fill any gaps or nail holes with putty or filler, and sand the surface smoothly. When this is dry, you can then paint the wood to match your usual trim. If done right, the adjustment you’ve made will look totally seamless, and will absolutely add to the comfortable design of your living space.
To conclude, cutting crown molding can seem like an intensive task, especially for first-time DIY-ers, but with a little persistence, the ability to measure correctly and not being afraid to try again, you’re sure to learn a valuable home skill. For the time it takes, you’re better off learning a task like this than hiring someone to do it, as you can save plenty of money this way.